Setting up Tailwind CSS with Vue.js 2


Creating a Project
To create a new project, run:
vue create hello-world
or Using the GUI
vue ui
If you have an error like the image below
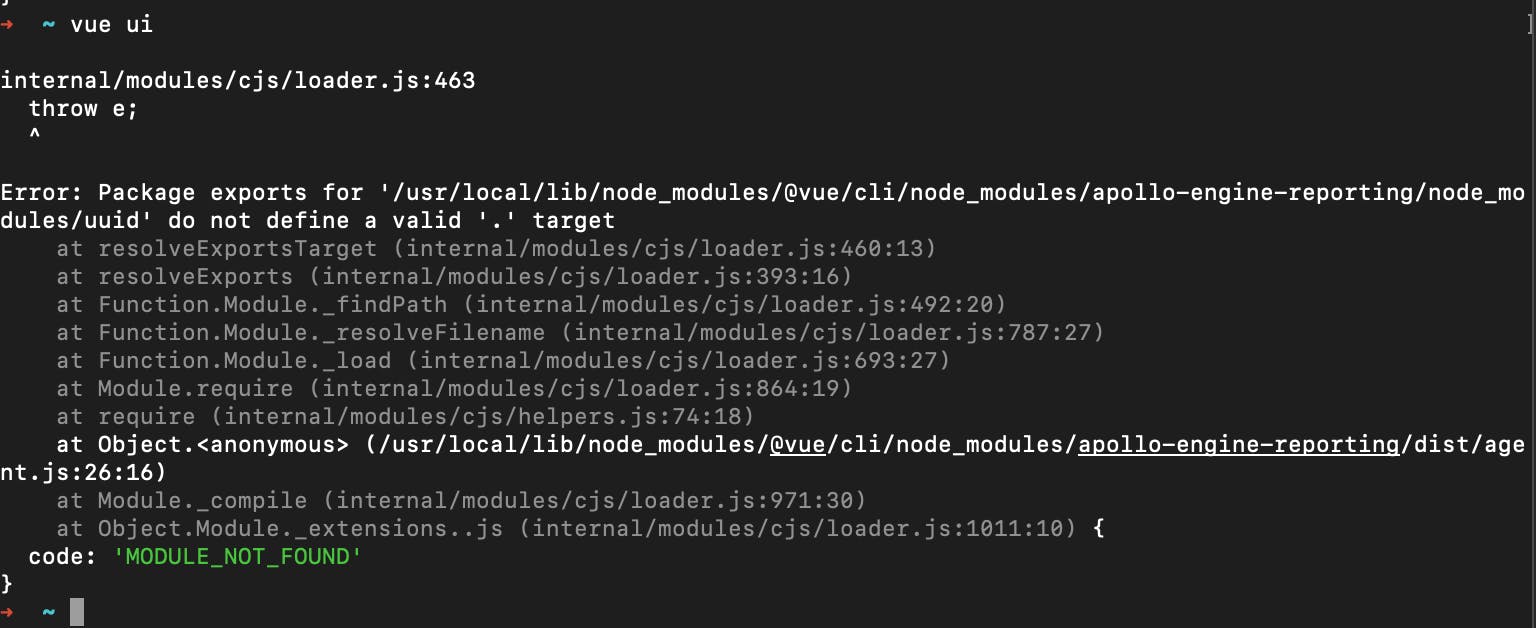
Update your Node version to a stable version.
Check here on how to update Node version
For a step by step guide of installing VueJS, check this guide on Vue Mastery Link
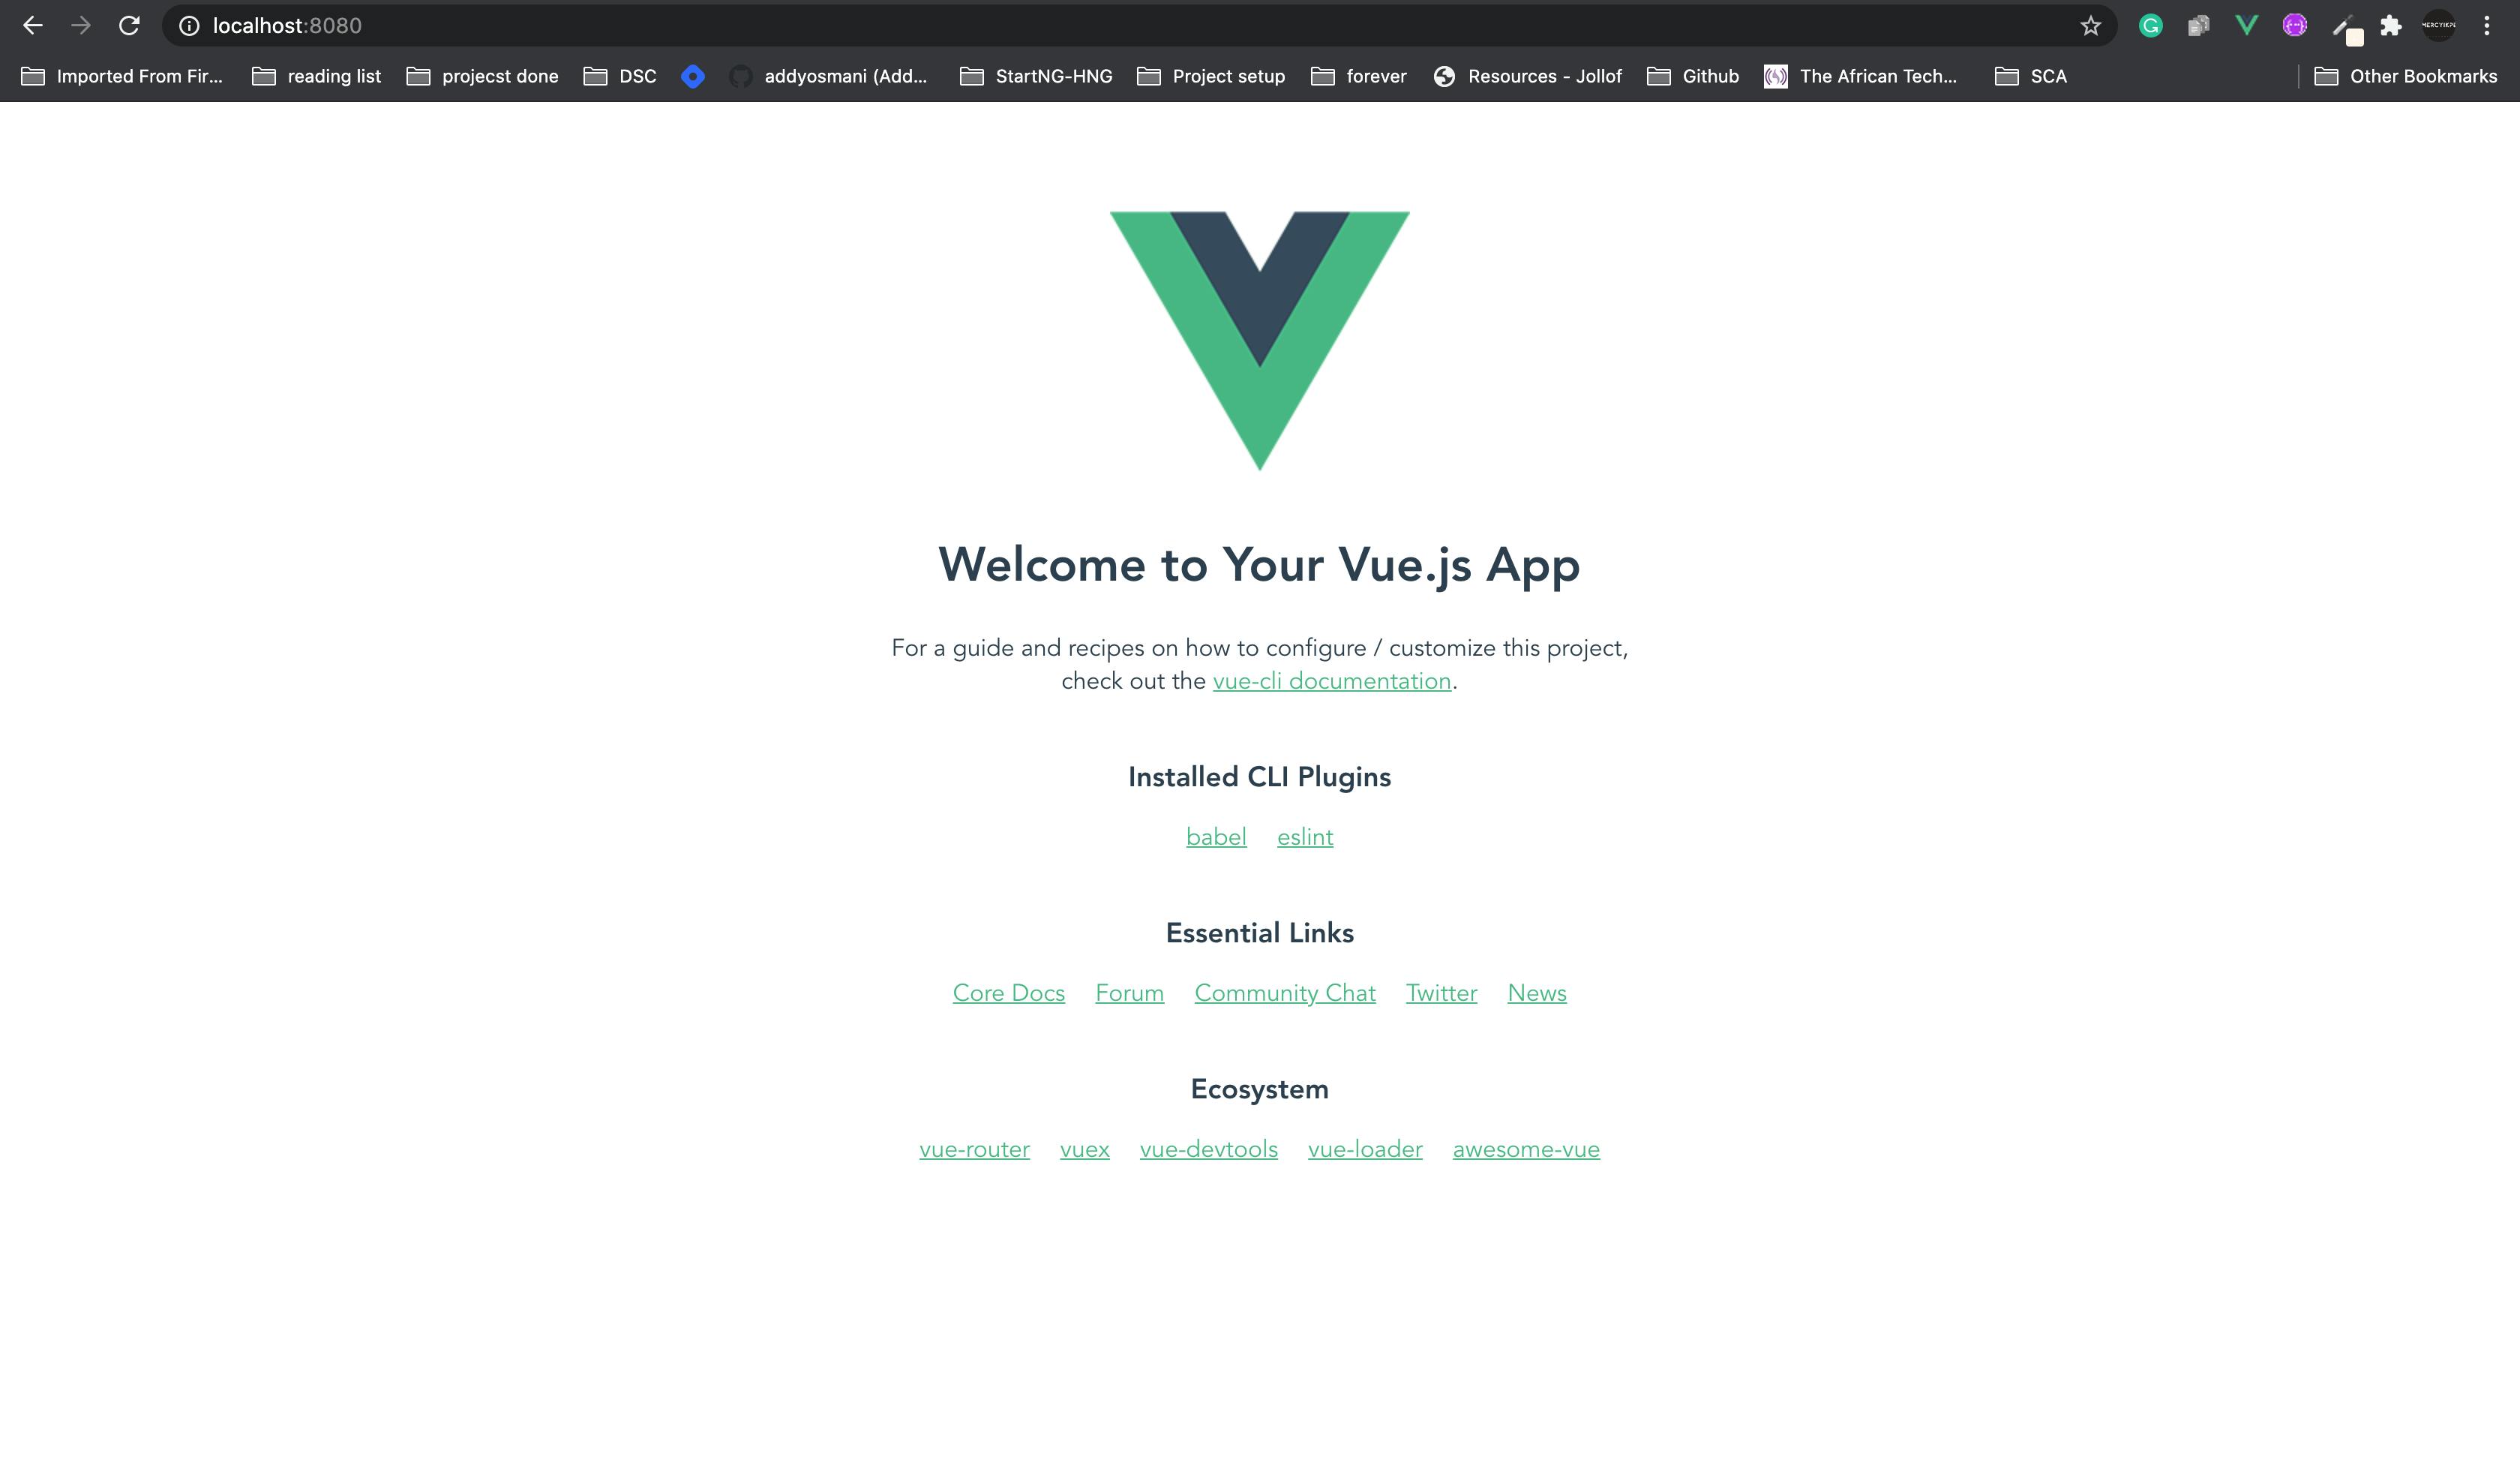
On successful serving of your project, you should have the image below
After creating your Vue Js Project Let's add tailwind 1.6.0
Install TailwindCss
Using npm
npm install tailwindcss
Using Yarn
yarn add tailwindcss
I have tailwindcss 1.6.2 installed
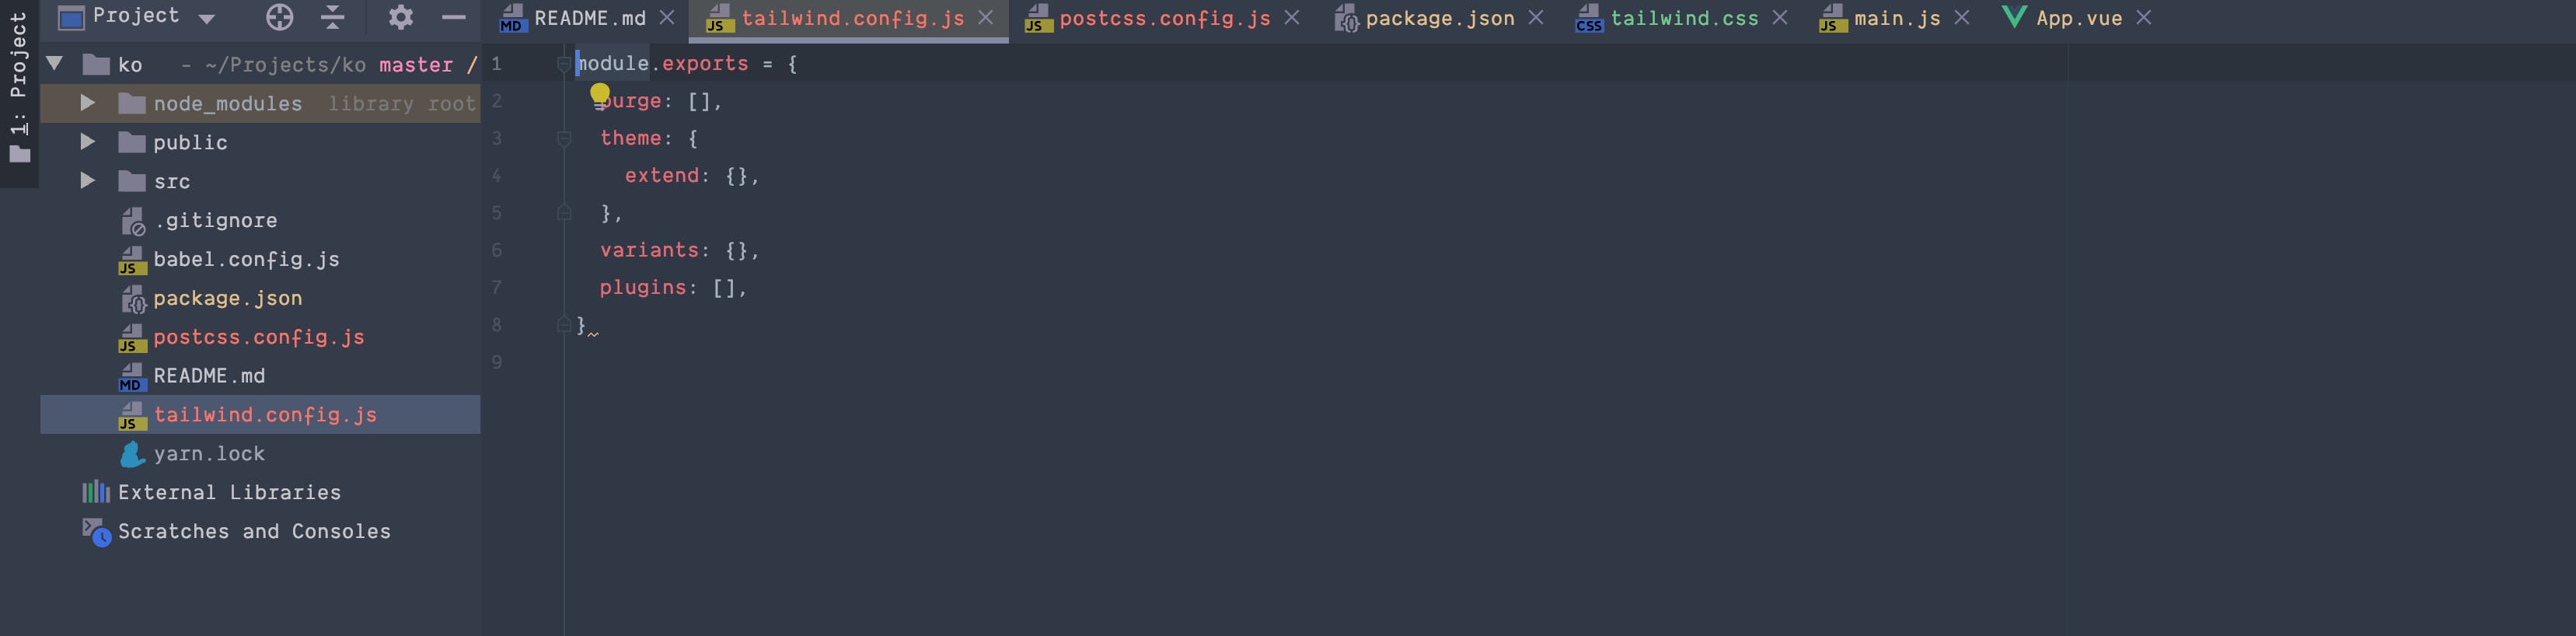
Create a Tailwind.js configuration file (optional) If you will like to customize tailwind property, go ahead and create the file or don't create it if you won't customise tailwind property.
The command below will create a configuration file with full tailwind css basic setup for screens, width, maxWidth, colors, fontFamily, grid etc
npx tailwind init tailwind.config.js --full
If you don't want the full setup,
run npx tailwindcss init
This will create a minimal tailwind.config.js file at the root of your project:
Process your CSS with Tailwind using PostCSS
Create a postcss.config.js file in the route of your project or run
touch postcss.config.js and add the following code to the file:
const tailwindcss = require("tailwindcss");

module.exports = {
    plugins: [
        tailwindcss("./tailwind.config.js"),
    ]
};
or Tailwind CLI For simple projects or just giving Tailwind a spin, you can use the Tailwind CLI tool to process your CSS:
npx tailwindcss build styles.css -o output.css
Note: if you set Vue CLI to store the configuration in package.json, make sure no PostCSS configuration lies in that file. By default Vue CLI adds these lines as seen in the image below
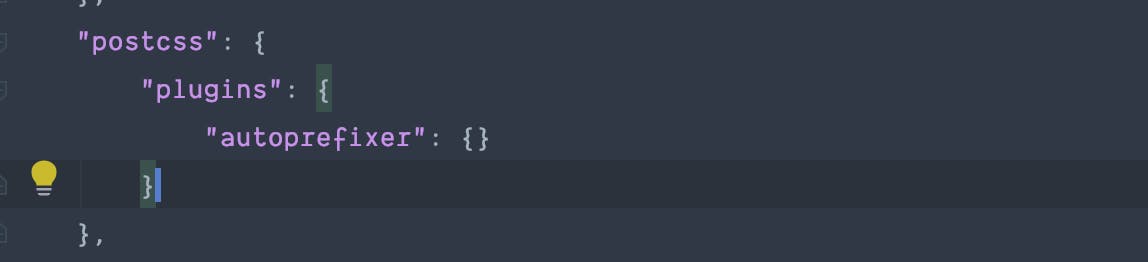 remove them, or the postcss.config.js file won’t be read.
Create a CSS file
Create a 'tailwind.css' file in the src directory of your project, I usually add it to '/src/assets/css/tailwind.css', then add the following:
@import "tailwindcss/base";

@import "tailwindcss/components";

@import "tailwindcss/utilities";
Import Tailwind into your vue app
add the code below to your main.js file
import '@/assets/css/tailwind.css'
Restart the server and test that you have tailwind injected into your page.
Test that it works
Update your App.vue file with the following code
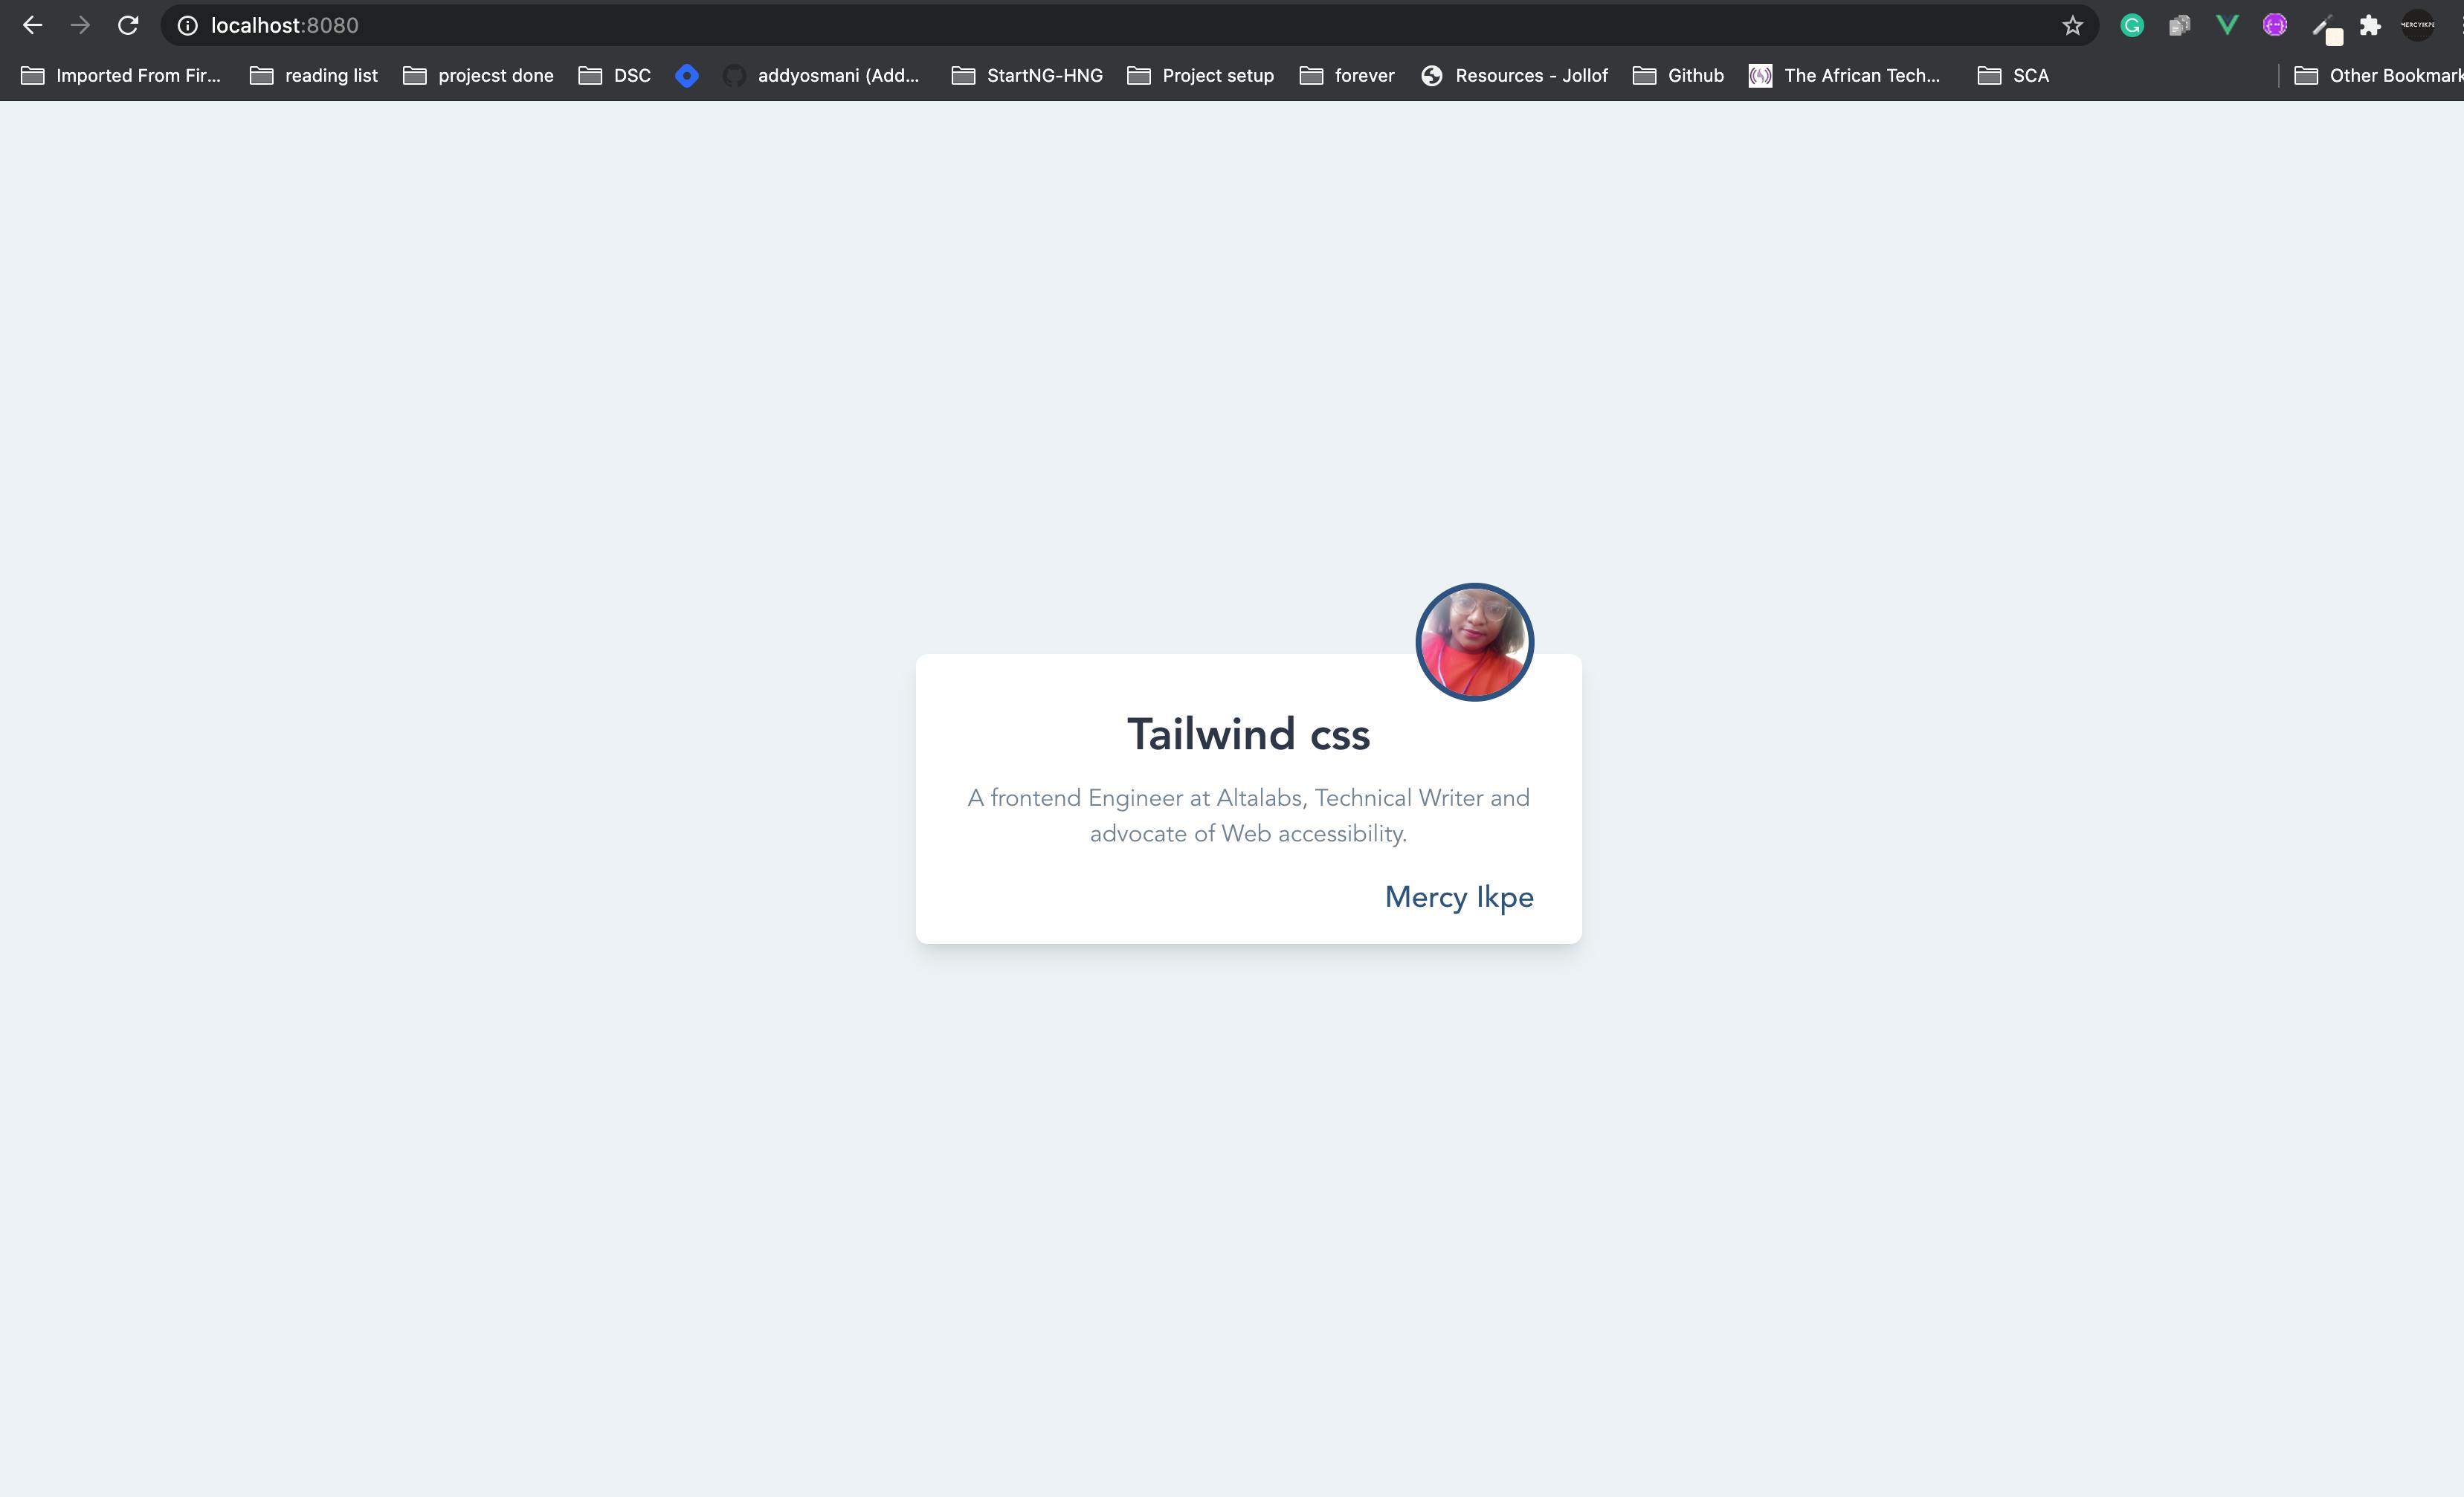
<template>
    <div id="app" class="h-screen bg-gray-200">
        <div class="flex content-center items-center justify-center h-full">
            <div class="max-w-md py-4 px-8 bg-white shadow-lg rounded-lg my-20">
                <div class="flex justify-center md:justify-end -mt-16">
                    <img class="w-20 h-20 object-cover rounded-full border-4 border-blue-800 bg-white" alt="mercy ikpe" src="https://res.cloudinary.com/mercyikpe/image/upload/v1596589747/mercy2-removebg-preview_afr9co.png">
                </div>
                <div>
                    <h2 class="text-gray-800 text-3xl font-semibold">Tailwind css</h2>
                    <p class="mt-2 text-gray-600">
                        A frontend Engineer at Altalabs, Technical Writer and advocate of Web accessibility.
                    </p>
                </div>
                <div class="flex justify-end mt-4">
                    <a href="#" class="text-sm font-medium text-blue-800">Mercy Ikpe</a>
                </div>
            </div>
        </div>
    </div>
</template>

<script>

    export default {
        name: 'App',
        components: {
        }
    }
</script>

<style>
    #app {
        font-family: Avenir, Helvetica, Arial, sans-serif;
        -webkit-font-smoothing: antialiased;
        -moz-osx-font-smoothing: grayscale;
        text-align: center;
    }
</style>
Result Expected
Whenever you edit your codes, the server will recompile the code so you don't need to refresh your browser to see the changes.
Our basic setup is completed.