Integrating Intercom in Vue3 app
How I integrated Intercom in Vue3 app without a plugin
Intercom is a modern customer communications platform that unifies every aspect of the customer journey, from conversion to engagement to support. Companies use it for getting feedback and enquiry from users.
To integrate Intercom into your Vue3 Single page application, first, you need a work email and then you create an account here. You will be assigned a key upon the successful creation of an account.
Now that you have the key,
- Include the intercom JS library file in your HTML head element.
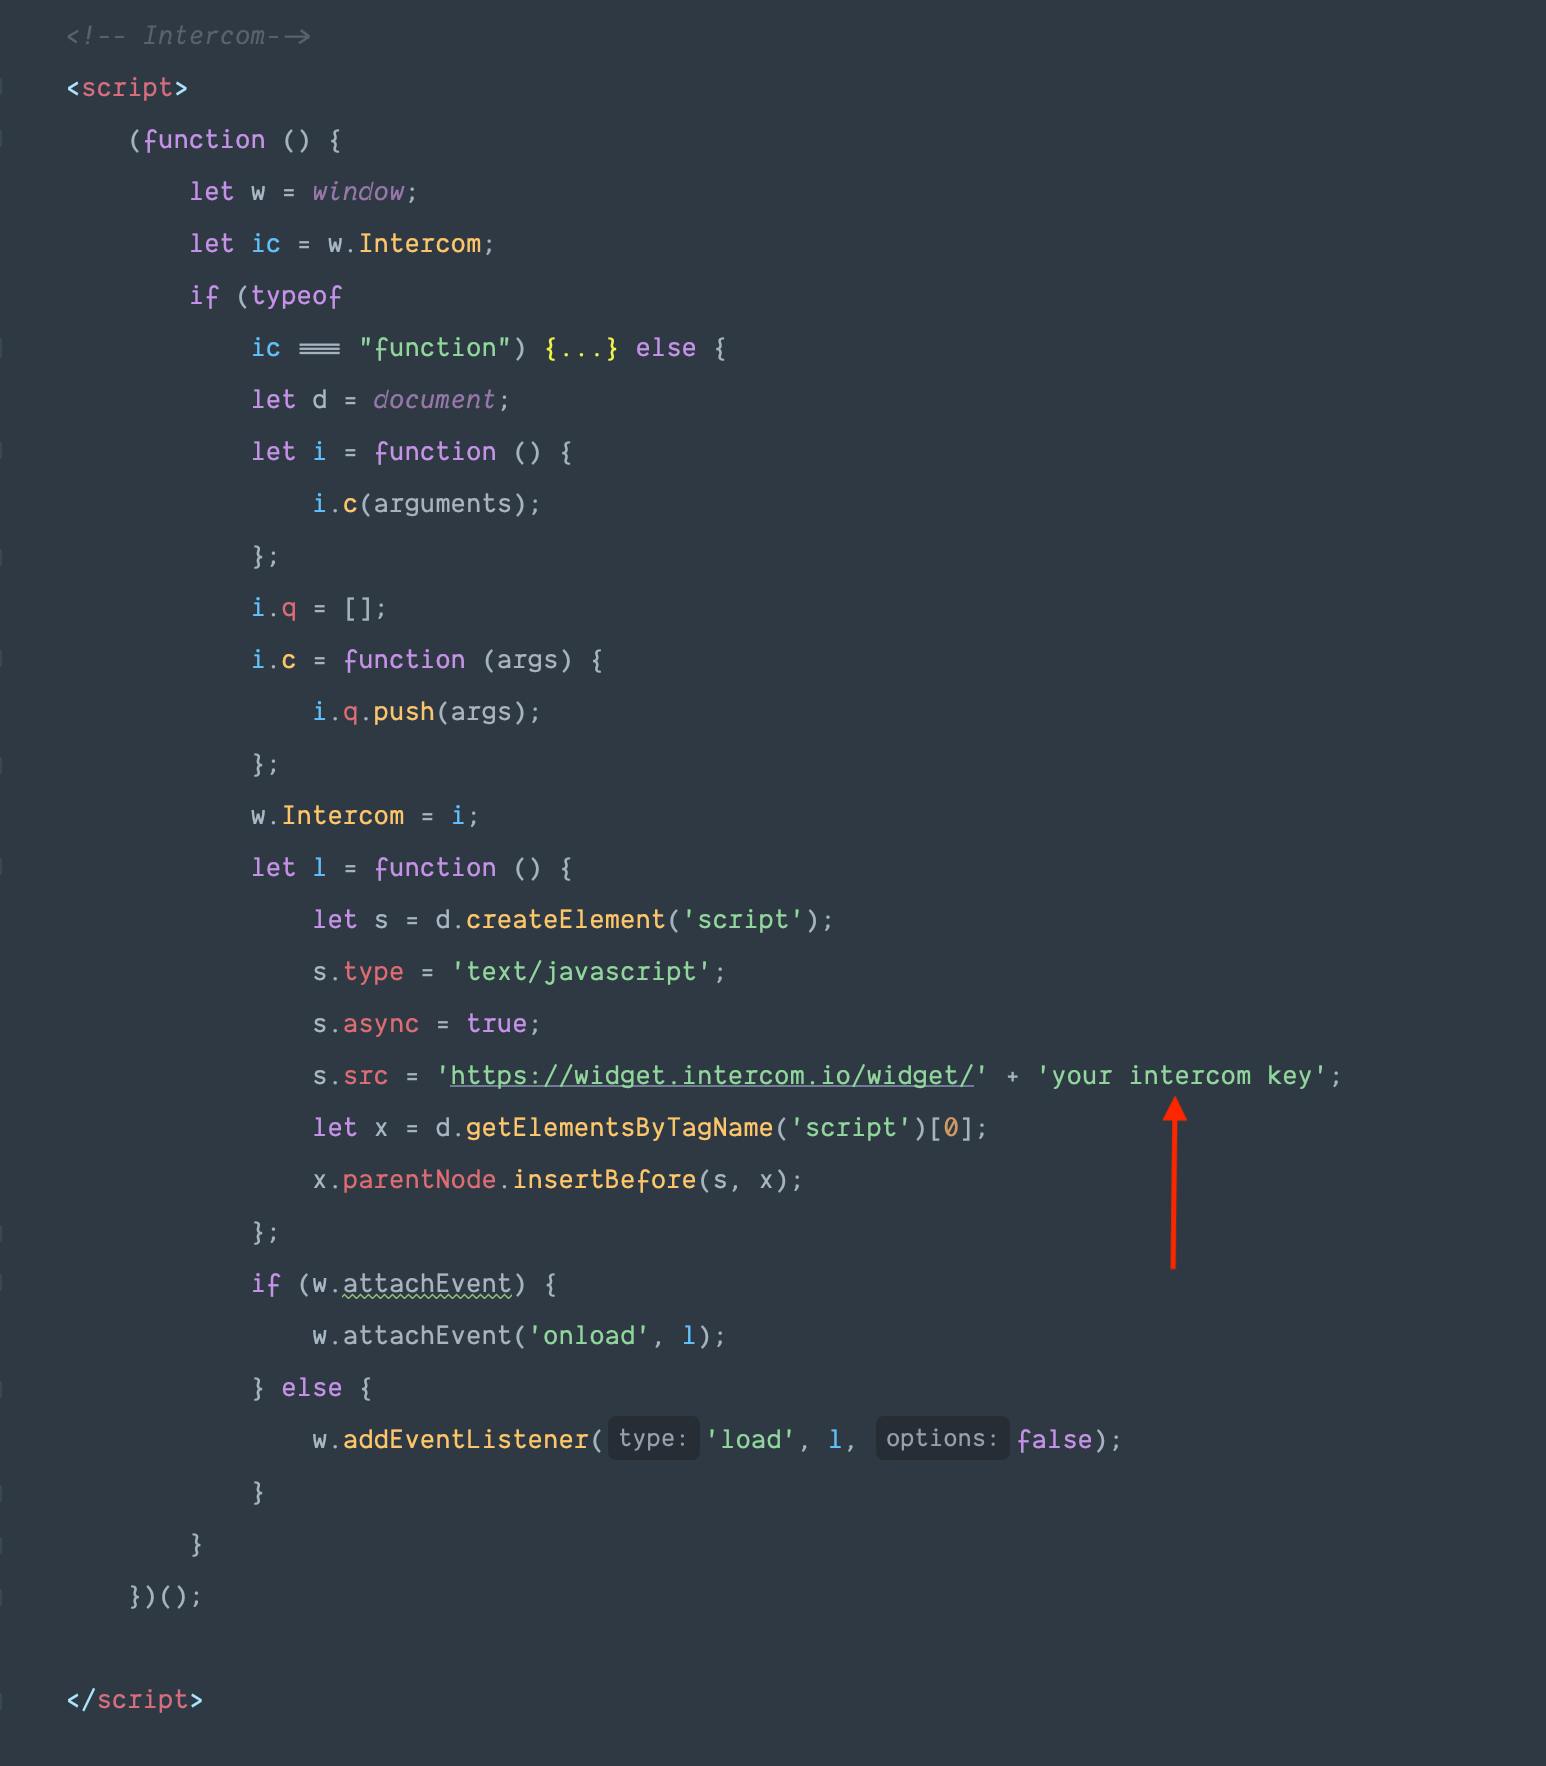
In yourindex.htmlfile, usually located in the project root, create ascripttag and paste the intercom JS library code.
(function(){var w=window;var ic=w.Intercom;if(typeof ic==="function"){ic('reattach_activator');ic('update',w.intercomSettings);}else{var d=document;var i=function(){i.c(arguments);};i.q=[];i.c=function(args){i.q.push(args);};w.Intercom=i;var l=function(){var s=d.createElement('script');s.type='text/javascript';s.async=true;s.src='https://widget.intercom.io/widget/' + APP_ID;var x=d.getElementsByTagName('script')[0];x.parentNode.insertBefore(s,x);};if(w.attachEvent){w.attachEvent('onload',l);}else{w.addEventListener('load',l,false);}}})();
Replace the "your intercom key" with the key on your own Intercom account.

- Still in
index.html, create ascripttag before the closingbodytag and add this window.intercom code snippet. Replace the "Your intercom key" with your own intercom key.
<script>
    window.Intercom('boot', {
        app_id: 'your intercom key',
    });
</script>
Now go to your browser and check the changes.

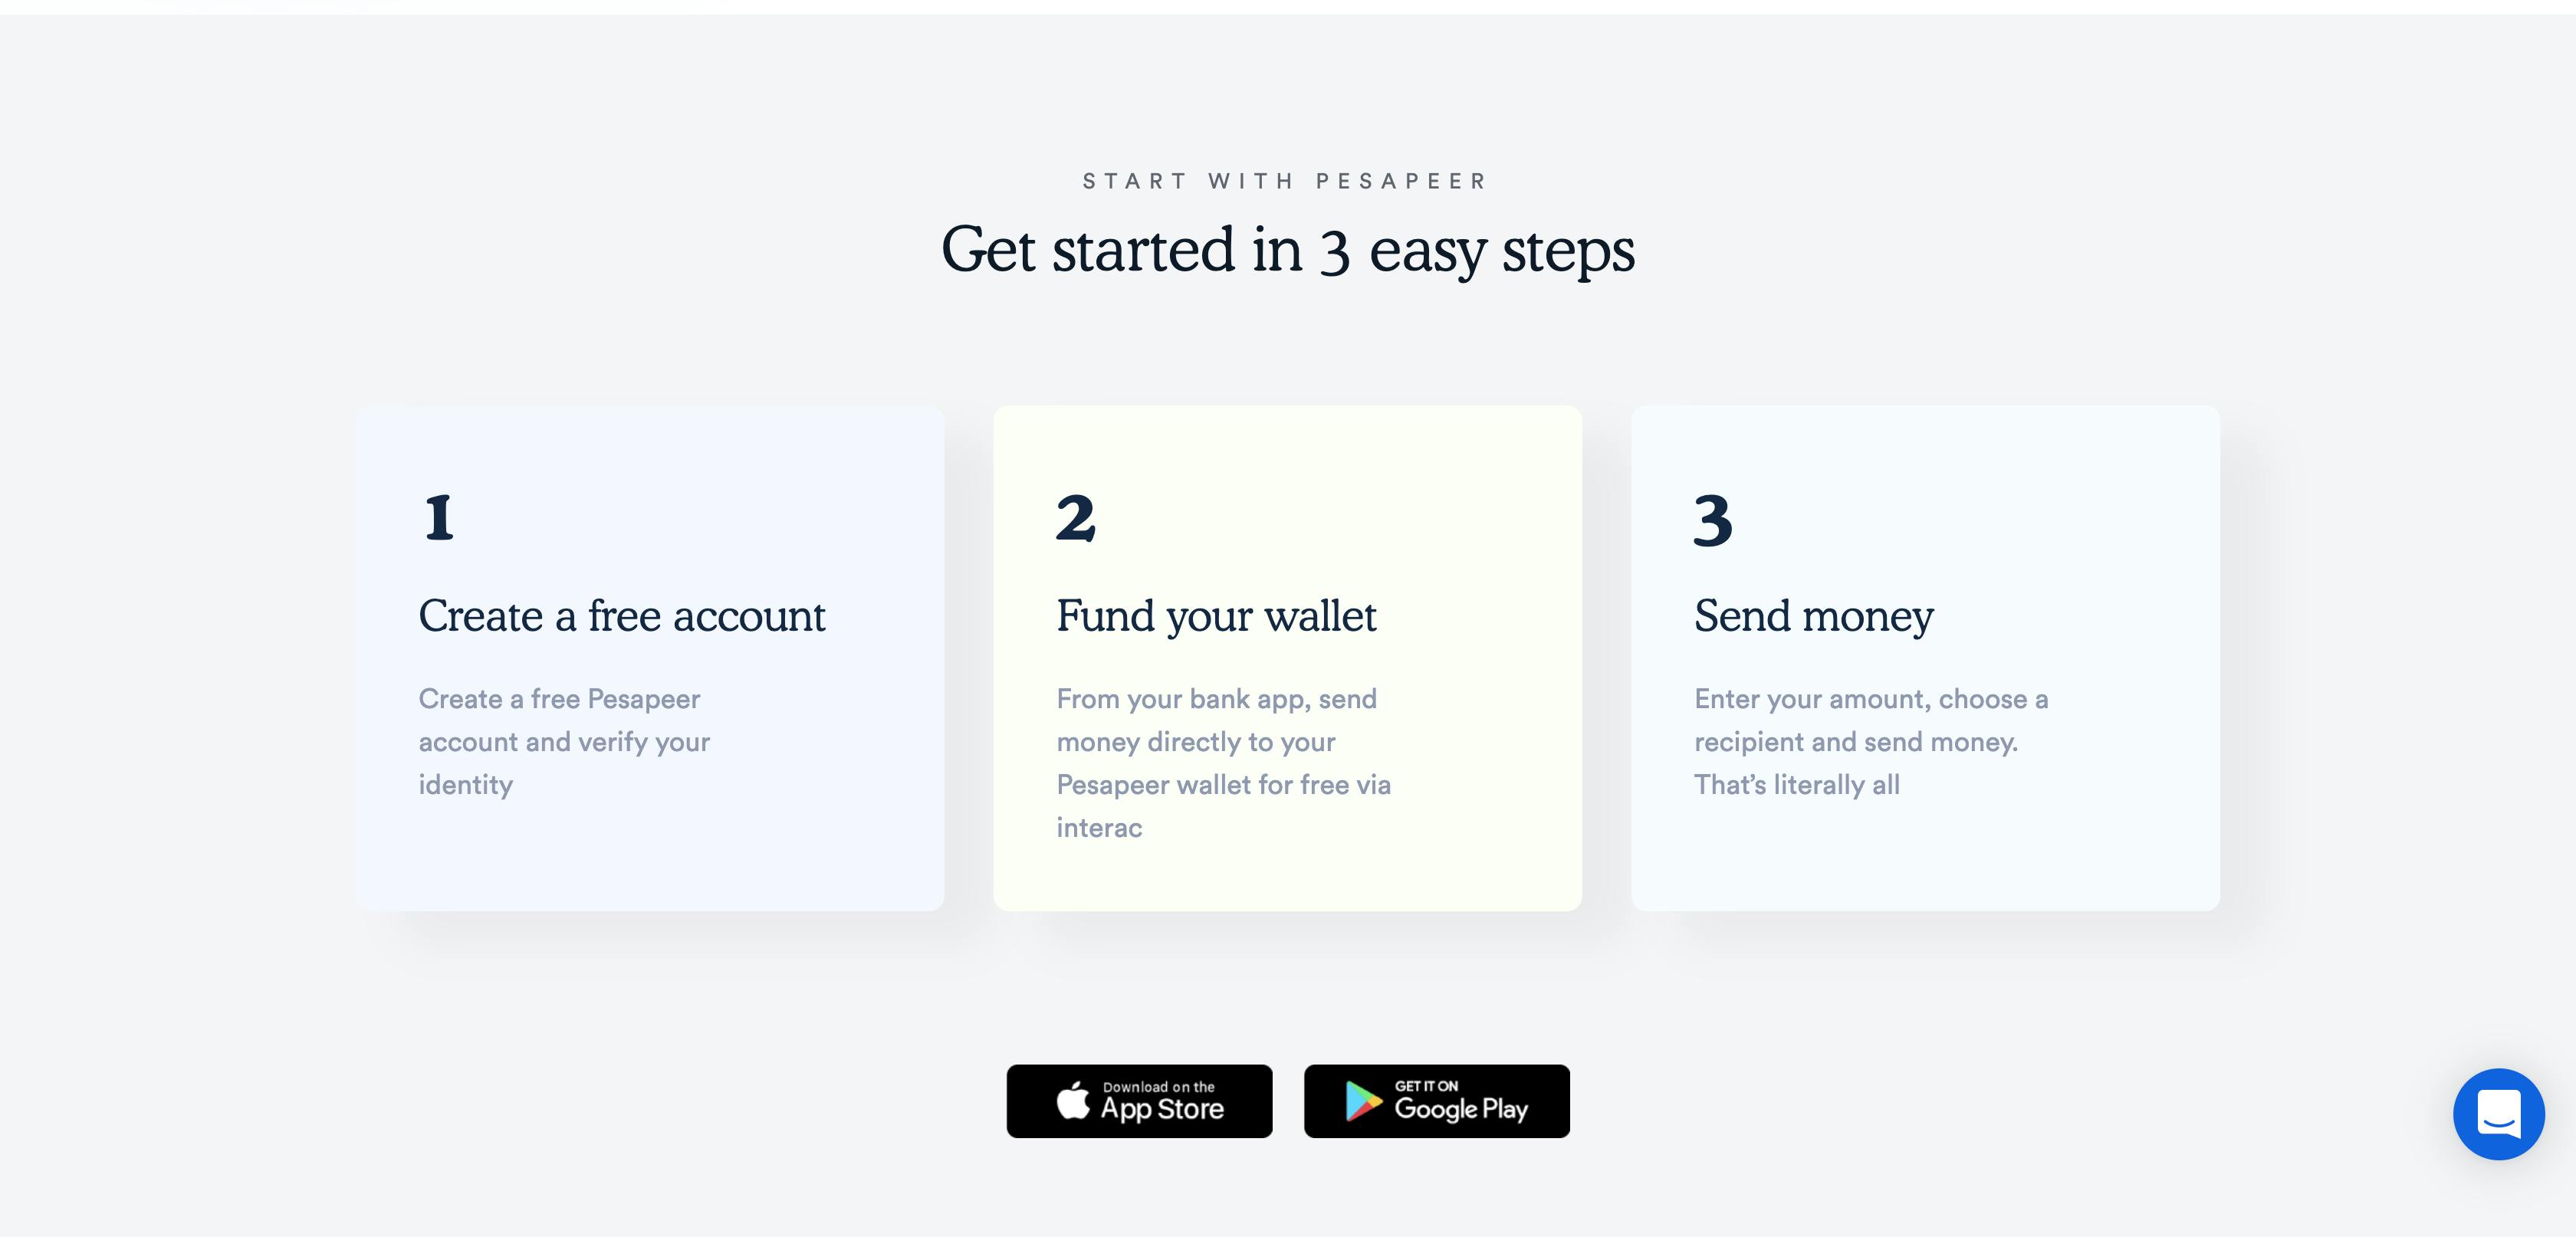
With this setup, the Intercom chat button will be fixed on all pages like in the image above. Whenever a user clicks on the button, the chatbox will show.
To read more about Intercom Integration, check out this post on Intercom's help page
